Foam Rolling Techniques for Faster Recovery
You just crushed a tough workout. Your muscles are screaming, and tomorrow’s DOMS (delayed onset muscle soreness) already feels inevitable. But what if you could cut your recovery time significantly with a simple foam cylinder?
Foam rolling isn’t complicated. Yet most people do it wrong-rushing through movements, avoiding painful spots, or rolling directly over joints. This guide breaks down the exact techniques that actually work for myofascial release and faster muscle recovery.
What Foam Rolling Actually Does to Your Body
Before grabbing your roller, understand what’s happening beneath your skin.
Myofascial release targets the fascia-a thin layer of connective tissue wrapping every muscle, bone, and organ. When you exercise intensely, this tissue can become tight, knotted, or adhered to underlying muscles. Think of it like a wool sweater that’s been washed wrong: bunched up and restricted.
Rolling applies pressure that:
- Increases blood flow to compressed areas
- Breaks up adhesions between fascia and muscle
- Stimulates mechanoreceptors that signal your nervous system to relax
- Temporarily increases range of motion by 10-15 degrees (according to research from the Journal of Athletic Training)
The pressure sensation triggers your body’s parasympathetic response. That’s why deep rolling often feels uncomfortable at first, then releases into relief.
Choosing the Right Foam Roller
Not all rollers deliver the same results.
**Density matters more than size. ** A soft roller barely penetrates surface tissue. Too hard, and you’ll tense up defensively-defeating the purpose entirely.
Here’s what to consider:
| Roller Type | Best For | Avoid If |
|---|---|---|
| Soft/white foam | Beginners, sensitive areas | You’ve been rolling 3+ months |
| Medium-density (blue/green) | Regular users, most muscle groups | None-this is the sweet spot |
| Firm/textured | Athletes, deep tissue work | You’re new to rolling or have injuries |
| Vibrating rollers | Enhanced blood flow, faster sessions | Budget is tight (they’re pricey) |
Start with medium density. Upgrade after your tissue adapts-usually 6-8 weeks of consistent practice.
The 7 Essential Foam Rolling Techniques
1. Quadriceps Roll
Your quads take a beating during squats, running, and cycling. They’re also one of the easiest muscle groups to roll correctly.
How to do it:
- Lie face-down with the roller under your thighs, just above your knees
- Support your upper body on your forearms
- Roll slowly from just above the knee to your hip crease-this takes 30-45 seconds per pass
- When you find a tender spot, stop. Breathe deeply - hold for 20-30 seconds
Common mistake: Rolling too fast. If you’re completing a pass in under 20 seconds, slow down. Your fascia needs sustained pressure to release.
2. IT Band Release
The iliotibial band runs along your outer thigh from hip to knee. It gets brutally tight in runners and cyclists.
Fair warning: this one hurts.
How to do it:
- Lie on your side with the roller under your outer thigh
- Stack or stagger your legs (staggering reduces intensity)
- Roll from just above the knee to just below the hip
- Rotate your body slightly forward and back to hit different angles
Pro tip: If the pain is unbearable, you’re pressing too hard. Reduce pressure by placing more weight on your supporting arm or bottom leg.
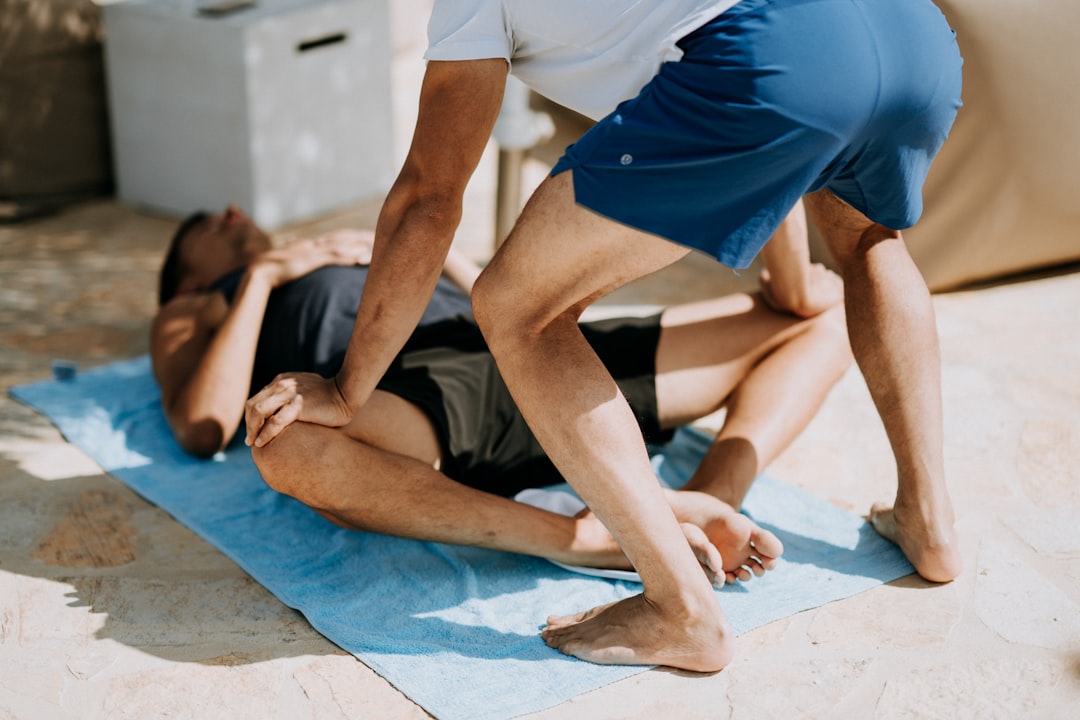
3. Glute and Piriformis Work
Seated all day? Your glutes are probably dormant and your piriformis is overworked. This combination causes hip pain and even sciatica-like symptoms.
How to do it:
- Sit on the roller with knees bent, feet flat
- Cross your right ankle over your left knee
- Lean toward the right side, rolling across your right glute
- Find the piriformis-a small, deep muscle that’ll feel like a marble when tight-and hold
- Make small circular movements over tender areas
4. Upper Back (Thoracic Spine)
This technique improves posture and relieves the tension from hunching over screens.
How to do it:
- Lie face-up with the roller across your mid-back
- Interlace your fingers behind your open support your neck
- Lift your hips slightly off the ground
- Roll from mid-back to the base of your neck (never roll your lower back-the spine isn’t protected there)
- Pause at tight spots and take 3-4 deep breaths
Why it works: Your thoracic spine should move independently from your lumbar spine. When it’s locked up, your lower back compensates-leading to pain.
5. Lat Release
Overlooked by most people, tight lats contribute to shoulder impingement and limited overhead mobility.
How to do it:
- Lie on your side with the roller under your armpit area
- Extend your bottom arm overhead
- Roll from armpit to just above your waist
- Rotate slightly to target different fibers
6. Calf Rolling
Tight calves restrict ankle mobility. Limited ankle mobility causes knee and hip problems. It’s a chain reaction.
How to do it:
- Sit with the roller under your calves, hands behind you for support
- Lift your hips off the ground
- Roll from Achilles tendon to just below the knee
- Rotate your feet inward and outward to hit the inner and outer heads of the gastrocnemius
7. Hamstring Release
How to do it:
- Sit on the roller with it under your thighs
- Place hands behind you for support
- Roll from just above the knee to your glutes
When to Roll: Timing Matters
The best time to foam roll depends on your goal.
Before workouts (2-3 minutes per muscle group):
- Roll quickly with lighter pressure
- Focus on muscles you’re about to train
- Skip the long holds-you don’t want excessive relaxation pre-exercise
After workouts (5-10 minutes total):
- Roll slowly with moderate to firm pressure
- Hold tender spots for 30-60 seconds
- Include areas that weren’t directly trained but are chronically tight
On rest days (15-20 minutes):
- This is your deep tissue session
- Work through your entire body systematically
- Combine with stretching for maximum benefit
Research from the Journal of Strength and Conditioning found that rolling immediately after exercise reduced perceived soreness by 6% at 24 hours and 13% at 48 hours. Not massive numbers-but noticeable.
Troubleshooting Common Problems
“I’m not feeling anything. “ Increase pressure by lifting more body weight onto the roller. Or upgrade to a firmer roller.
“It’s too painful to continue - “ Reduce pressure. Use a softer roller. Roll surrounding areas first to warm up the tissue.
“My muscles feel more sore after rolling. “ You probably rolled too aggressively. Back off the intensity and duration. Some tenderness is normal; increased muscle soreness is not.
“I found a super painful spot-should I avoid it? “ Usually no. Painful spots indicate adhesions that need work. But distinguish between productive discomfort (pressure that releases) and sharp, stabbing pain (possible injury-stop immediately).
What Foam Rolling Won’t Fix
Let’s be honest about limitations.
Foam rolling won’t:
- Replace proper warm-ups
- Cure actual muscle strains or tears
- Substitute for adequate sleep and nutrition
- Magically prevent all soreness
- Fix problems caused by terrible training programming
It’s one recovery tool among many. A useful one - but not magic.
Building Your Rolling Routine
Start simple. Pick 3-4 techniques targeting your tightest areas. Spend 10 minutes total, three times per week.
After two weeks, assess what’s improved and what still needs work. Adjust your focus areas accordingly.
The biggest mistake - being inconsistent. Rolling intensely once a week does less than rolling moderately every other day. Your fascia responds to regular stimulus, not occasional torture sessions.
Grab your roller - start with your quads. Go slow - find those tender spots.
Your muscles will thank you tomorrow.